

### Blog Post:
Home soundproofing walls can immediately reduce stress and improve daily life in noisy apartments, homes, and condos—if you know what works and what’s just hype. This expert guide delivers proven, affordable DIY solutions that seal up the real noise leaks, offer honest decibel (dB) performance, and help you choose the right investment for your wall, room, or budget. All techniques focus on what actually matters for renters and homeowners: measurable results, cost per square foot, and realistic effort. No empty promises—just the facts that get you true noise relief.
Key Takeaways
- Sealing flanking paths and covering gaps provide the biggest impact per dollar. Insulation or panels alone will disappoint if air leaks remain.
- Expect honest dB/STC improvements: most single upgrades offer 5–12 dB of improvement, while strategic combos (e.g., double drywall plus damping) can reach ≈55 dB reduction, but cost and time rise sharply.
- Simple noise tests, actual pricing per ft², and pro install tips put you in charge of your soundproofing budget—saving you from regret and wasted spend.
- Understanding Why DIY Home Soundproofing Walls Matter in 2024
- Step-by-Step Guide: Practical Plans and Cost Benchmarks
- Advanced Analysis & Common Pitfalls: Don’t Get Burned
- Conclusion
- FAQ
Understanding Why DIY Home Soundproofing Walls Matter in 2024
Noise complaints—inside apartments, between rooms, or from outside traffic—are surging. In 2024, the US acoustic-insulation market hit nearly $17 billion and continues a steady 4.8% annual climb, with “home soundproofing walls” showing sustained demand. Google search data confirms real-world needs: about 12,000 people search “soundproof walls,” and 8,000 search “DIY soundproof room” monthly worldwide, each rising 12–15% year-over-year. Homeowners and renters, squeezed by city density and remote work, want proven, affordable DIY noise fixes they can actually install—and they don’t want marketing fluff.
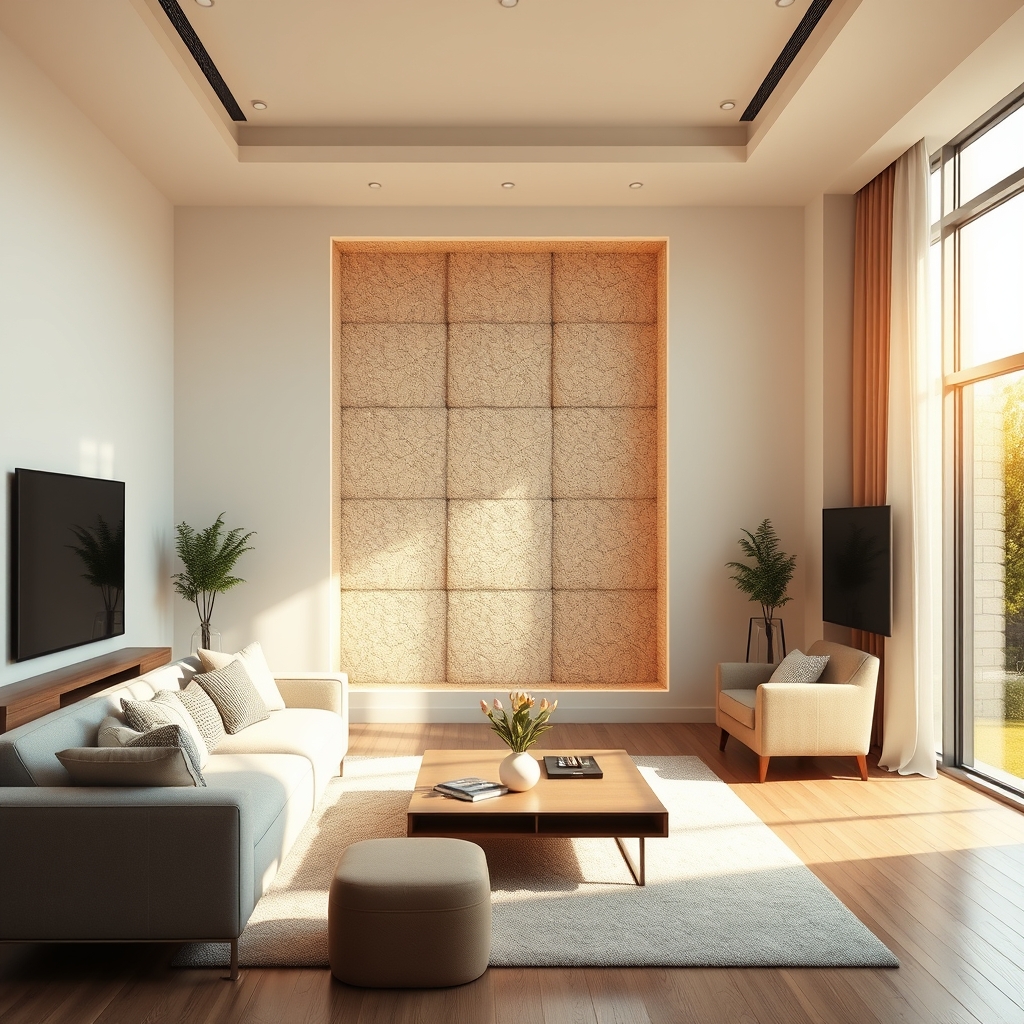
Why does this matter now? Because too many products promise 20–30 dB “magic” results but actually deliver half that—if you don’t seal leaks or patch gaps, even expensive insulation and acoustic panels are wasted. Real-world research shows the biggest return comes from sealing flanking paths (outlets, trim gaps, doors, floors). True best practices involve a progression: seal air gaps, absorb cavity noise, add mass/damping for tough walls, and decouple if you must. Only by measuring results and understanding realistic $/ft² costs will you avoid costly mistakes.
For background on the evolution of soundproofing and product design, see our industry insights on home improvement trends.
Step-by-Step Guide: Practical Plans and Cost Benchmarks
This section gives you simple, actionable steps based on both research and hands-on experience. Select the tier that fits your budget and DIY skills. For each, we list expected dB reduction, per-foot cost, and typical install time for a 10×10 wall.
Tier 1: Seal & Patch (<$100)
- Seal flanking paths: Use acoustic caulk ($6–10/tube), weatherstripping ($5–10/door), and foam gaskets for outlets ($10/pack). Check trim edges and bottom door gaps. Install can be DIY in 1–2 hours.
- What to expect: 5–8 dB actual reduction on basic walls, up to 10 dB if addressing all obvious leaks.
Cost: $0.25–0.50/ft² - Rental-friendly: All above options are non-permanent; easy removal on move-out.
Tier 2: Absorb & Add Mass ($100–$800)
- Add insulation to cavity: Fiberglass/mineral wool batts cost $0.30/ft². Easy to install (1–2 hours for a 10×10 wall). Alone, expect little dB improvement (1–2 dB) unless flanking paths are also sealed.
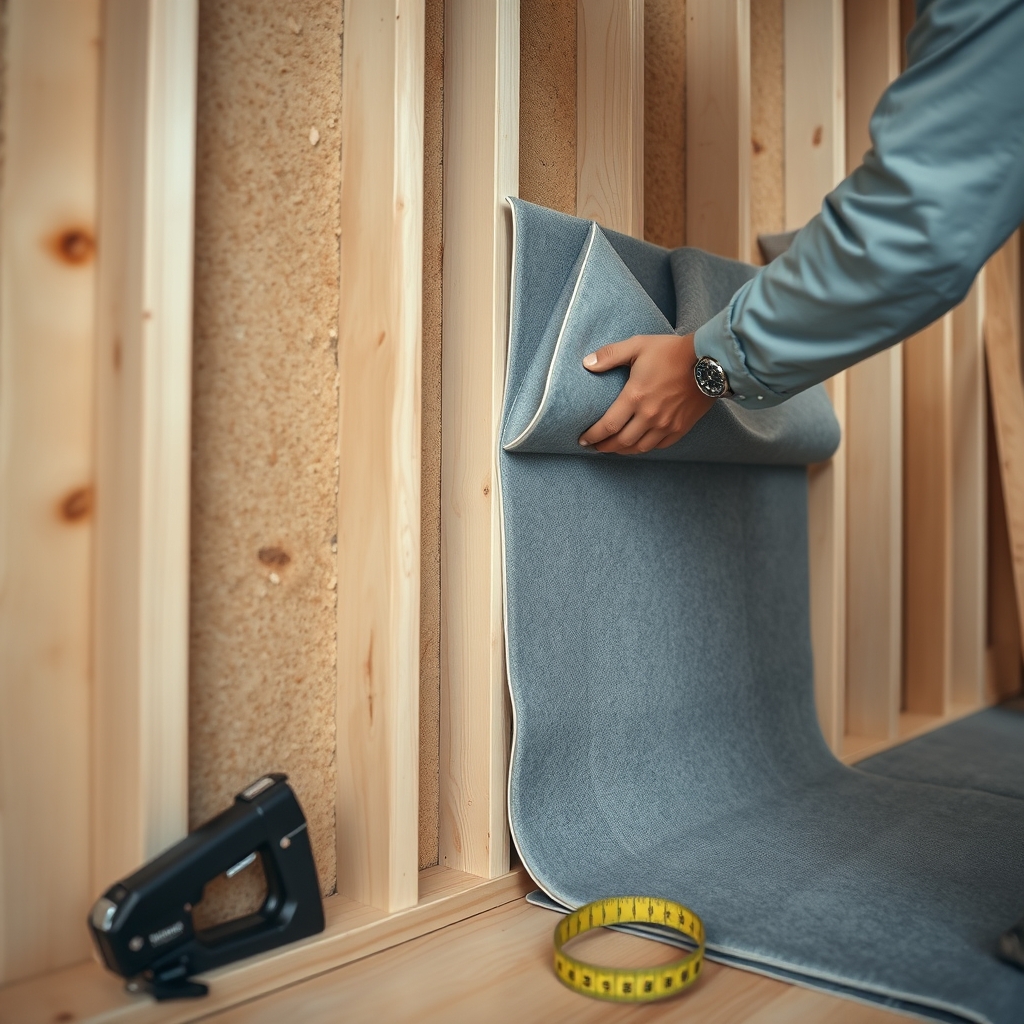
- Install mass loaded vinyl (MLV): 1 lb/ft² MLV costs $2–3/ft²; 2 lb/ft² is $3–4/ft². Real research finds this adds about 10–12 dB (STC 23–27), not the 20–30 dB sometimes advertised. Expect 4–6 hours work for a two-person install over a 10×10 wall. Source
- Double drywall & damping: Add a second layer of 1/2″ drywall with Green Glue in between. Green Glue is $0.50/ft² and must cure at least 24 hours. Actual test: can achieve as much as STC 55 (≈55 dB reduction) but only with all layers and gaps sealed.
Tier 3: High-Performance Hybrid ($800+)
- Resilient channels or clips: Decouple drywall from studs to interrupt vibration paths. Adds $1–2/ft². Combine with the above for maximum effect.
- Finishing (Acoustic panels): Add for aesthetics or further absorption. Decorative panels cost $15–30/ft². Real effect: reduces echo in-room, adds maybe 5–8 dB for transmission. See panel market analysis
- Time: Complete install for a 10×10 wall: 6–12 hours (excluding Green Glue cure).
Sample Build Scenarios (10×10 Wall):
| Scenario | Materials Used | Cost ($/ft²) | Time | Expected dB/STC |
|---|---|---|---|---|
| Cheap/Fast | Seal gaps/outlets, add weatherstripping | $0.25–0.50 | 1–2 hours | 5–8 dB (STC boost minimal but real-world difference) |
| Mid-Range | Add MLV (1 lb/ft²), basic batt insulation | $2.50–3.30 | 4–6 hours | 10–12 dB (STC 23–27) |
| High-Performance | Double drywall, Green Glue, insulation, clips | $4.00–5.00 | 8–12 hrs + 24 hr cure | Up to 55 dB (STC ∼55) |
For impact between floors, add floating underlayment and thick rugs—see our guide to essential pet products (great for noise and scratching protection).
Advanced Analysis & Common Pitfalls: Don’t Get Burned
Even diligent DIYers lose money and patience because of these recurring mistakes:
- Forgetting to seal flanking paths: The #1 reason for failed results. Noise finds the path of least resistance—gaps around outlets, window frames, baseboards, and ceilings nullify expensive upgrades. Research consistently shows insulation barely reduces airborne sound if leaks remain open.
- Misreading product claims: MLV is heavy, hard to seam, and often only delivers 10–12 dB, not 30+. Green Glue’s 10 dB “gain” only happens with correct install, full wall coverage, and a 24-hour mess-prone cure.
- Misusing acoustic panels: Attractive for room echo, but transmission blocking is modest—5–8 dB at best. Often disappointing if expected to stop loud music or shouting next door.
- Poor install practice: Unscrewed panel seams, loose MLV, or skipping resilient clips let vibrations bypass barriers. Fastening directly to studs creates new sound leaks.
Critical pricing and expectations at a glance:
| Product | Marketed Performance | Actual dB Gain | STC | $/ft² | Major Downsides |
|---|---|---|---|---|---|
| MLV (1 lb) | 20–30 dB | 10 dB | 23 | 2–3 | Heavy, seams leak, laborious |
| MLV (2 lb) | 30 dB | 12 dB | 27 | 3–4 | Very heavy, install difficult |
| Acoustic Panel | 10–15 dB | 5–8 dB | – | 15–30 | Transmission gain minimal |
| Green Glue (with double drywall) | Up to 10 dB | Up to 10 dB; STC ~55 possible | 55 | 0.50 (plus drywall) | Messy, 24h cure |
| Insulation (batts) | 10+ dB | 0–2 dB alone | – | 0.30 | Ineffective solo, must combine |
Three biggest gaps in 2024 offerings:
- No thin, lightweight high-mass solution for low-frequency blocking without 1 lb/ft² weight (user wish list).
- No all-in-one, DIY-friendly package that addresses both wall coverage and flanking path sealing.
- No low-mess, fast-curing damping material that achieves ≥STC 55 without days of dry-time or complex install.
DIYers can mix-and-match stopgaps, but trade-offs remain. For a rundown of top modern home living trends, consider soundproofing alongside furniture placement and layout.
Conclusion
In summary: invest first in sealing every flanking path, then add mass (MLV or drywall/Green Glue), and only consider absorption or panels for comfort and aesthetics. Always verify each method with simple dB tests using your phone—don’t trust marketing numbers blindly. The path to real home soundproofing walls is a balance of labor, cost, and expectation. The harder you work to block paths and layer mass, the greater your reward, but results will always match your weakest detail.
Ready to take control of your noise problem? Use these practical benchmarks and actionable steps now—your peace and privacy are just a weekend’s work away. For more detailed tips, explore our articles on outdoor space design or future of home improvement—and share your own results to help others cut through the noise.
FAQ
What is the single most effective way to soundproof a wall cheaply?
Sealing gaps and flanking paths with acoustic caulk, weatherstripping, and outlet gaskets offers the biggest dB improvement per dollar. These steps usually deliver 5–8 dB reduction—much more than insulation or panels alone if you’re on a tight budget.
Is mass loaded vinyl (MLV) worth it for DIYers?
MLV can add roughly 10–12 dB but is heavy, tricky to seam, and costly at $2–4/ft². It’s best as a retrofit if you can fully cover the wall and properly seal overlaps. Most renters and casual DIYers should prioritize sealing and absorption first.
Are acoustic panels good for stopping sound going through walls?
Acoustic panels mainly control reverberation (echo) inside a room and only offer 5–8 dB of transmission reduction. For party wall noise or exterior sound, panels are more decorative than structural.
How do I know if I need professional soundproofing?
If you’ve sealed, insulated, and added mass but still hear low-frequency rumble or want STC >55 performance, consider calling a pro. Also, consult local codes for wall/ceiling structural changes or if you need certified results for complaints.
Can I remove soundproofing materials when moving out of a rental?
Most sealing products (weatherstripping, foam gaskets, removable MLV or curtains) are reversible. Anything involving drywall, Green Glue, or pockets of insulation will require patching and is generally not renter-friendly.