

### Blog Post:
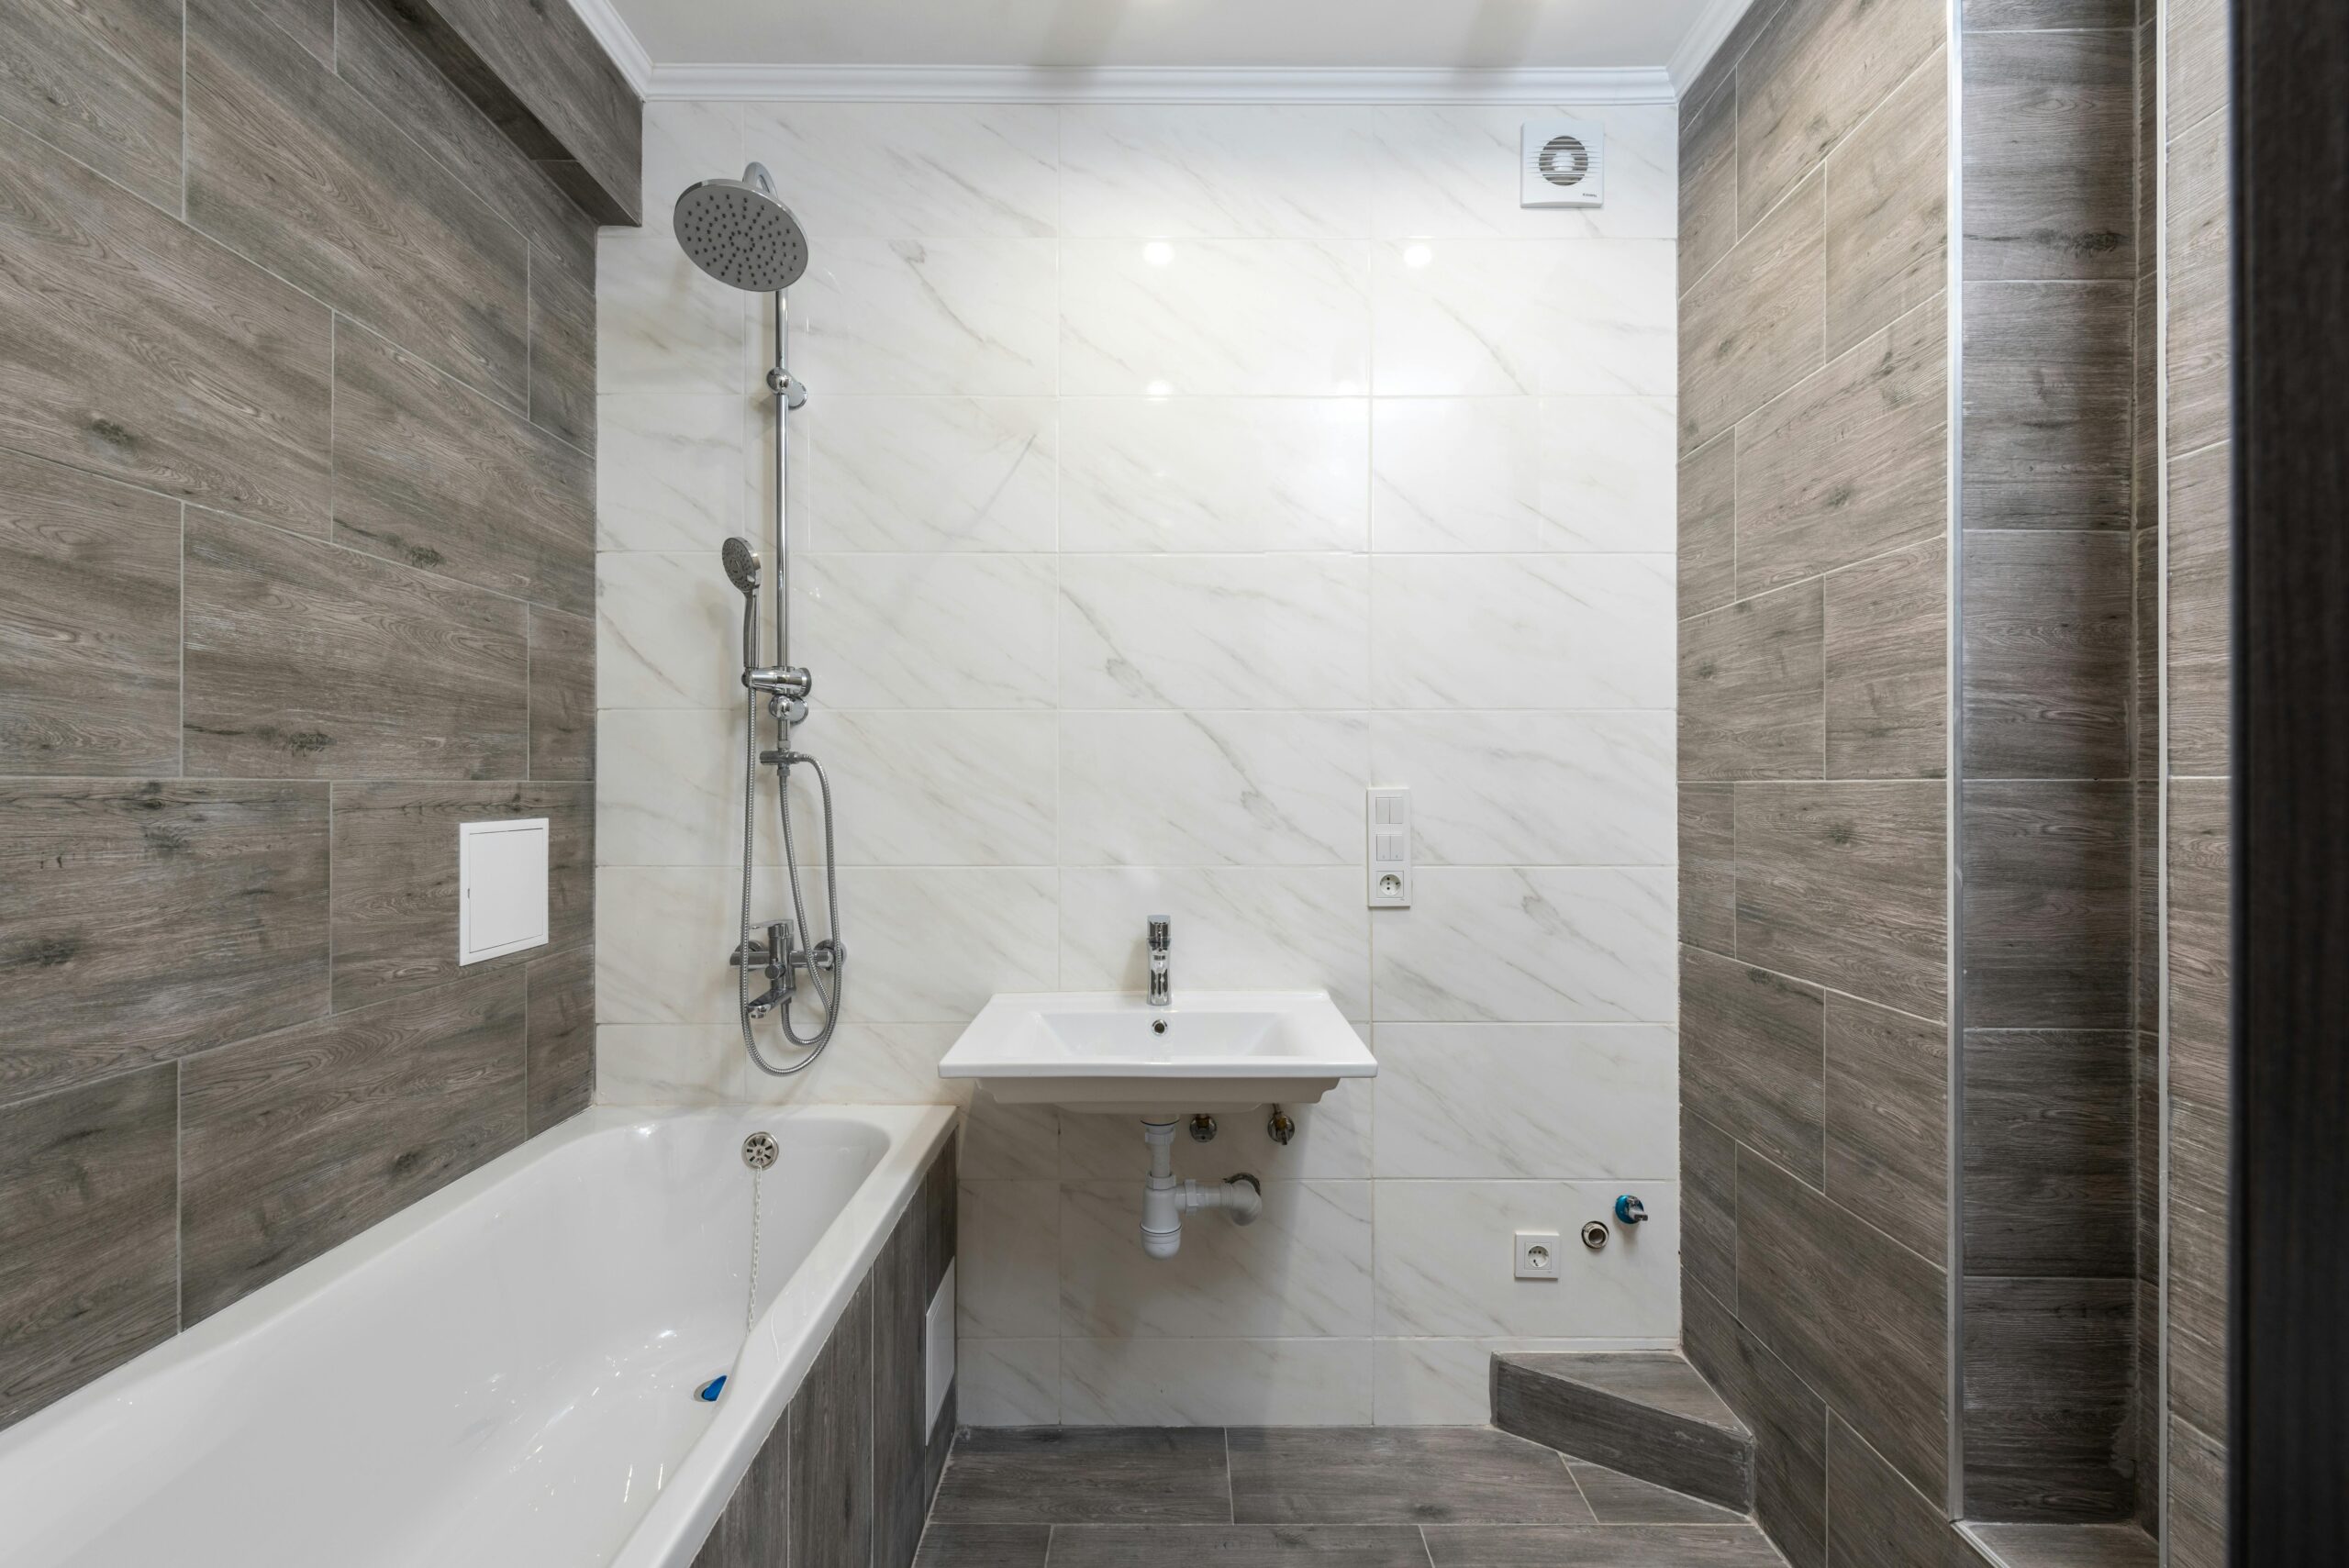
Aging in place bathroom remodel is not just a trend—it’s an urgent, data-backed response to a massive and growing risk of senior falls at home. In 2024, over 235,000 seniors required emergency care for bathroom falls. For families who want true safety—not just cosmetics—every installation spec and material choice must be made with exactness and dignity in mind.
Key Takeaways
- Fall injuries in bathrooms are highly prevalent among seniors; detailed specs, not just generic advice, are essential to reduce repeat incidents.
- slip-resistant flooring, professionally anchored grab bars, careful lighting, and no-step entries are non-negotiable for effective aging in place bathroom remodels.
- Use a clear measurement checklist and verified contractor questions to ensure true ADA compliance and long-term safety.
- Why remodel now: the scale of the bathroom fall problem
- Step-by-step guide: practical aging in place bathroom remodel process
- Advanced analysis & common pitfalls
- Conclusion: making your remodel count
- FAQ
Why remodel now: the scale of the bathroom fall problem
Remodeling for aging in place is not just about aesthetics or future-proofing—it’s addressing today’s urgent reality. The Centers for Disease Control and Prevention (CDC) states that in 2024, approximately 235,000 seniors required medical attention for bathroom-related fall injuries (source). Among those aged 65+, about 14 million will experience at least one fall per year, and the bathroom is the highest-risk space. Families are not overreacting: Around 55.5% of Medicare beneficiaries who’ve fallen modify their bathrooms, but half will still have repeat incidents unless deeper hazards are eliminated (source).
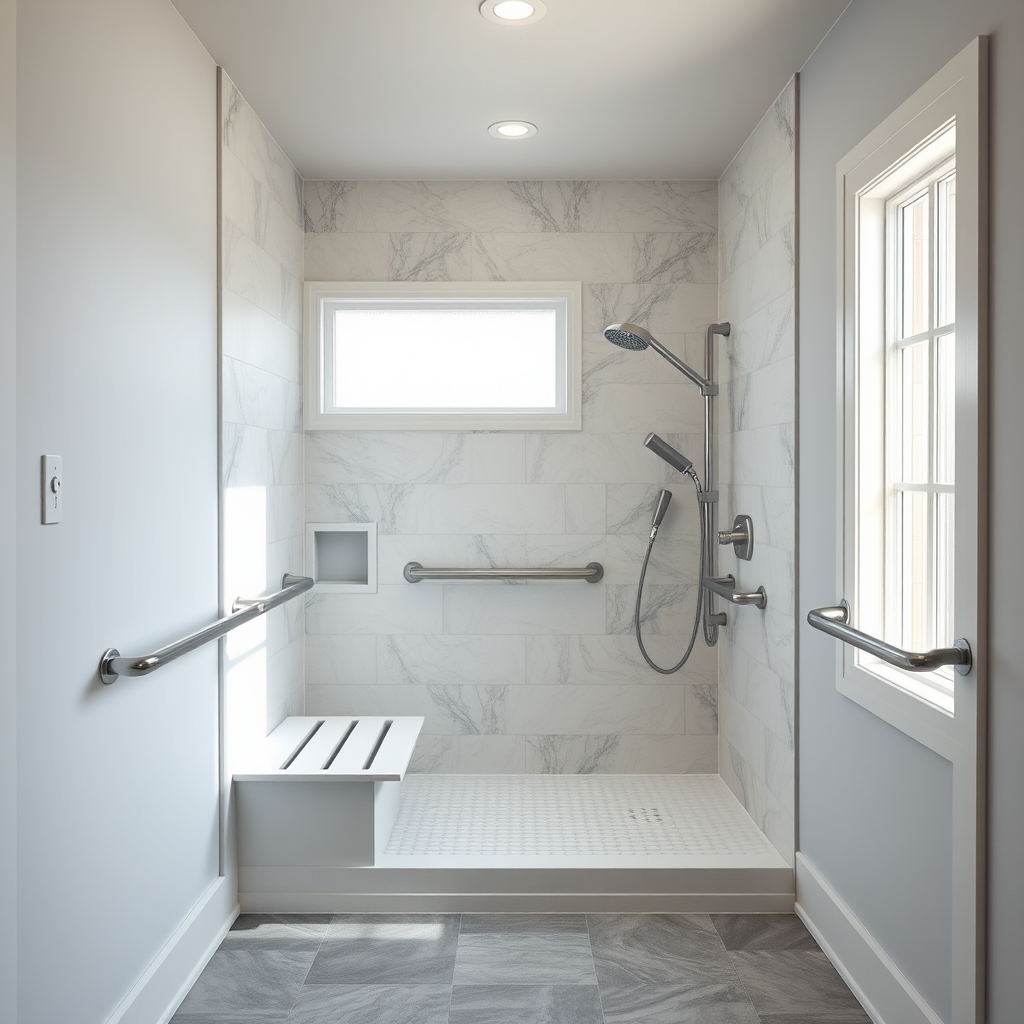
The real goal of an aging in place bathroom remodel is to prevent a first or repeat fall, supporting the independence and dignity of older adults. High-quality, spec-driven upgrades make this shift from “safer” to “truly safe.”
Step-by-step guide: practical aging in place bathroom remodel process
- Audit the Current Space: Use a checklist before consulting a contractor. Measure:
- Shower/tub entry height (aim for ≤1/2 inch threshold for curbless)
- Door clear width (must be 32-36 inches)
- Turning space (at least 48 inches diameter, ideally 60 inches)
- Floor texture—slippery, cracked, or loose?
- Existing grab bar location and anchoring method (must be wall-mounted, not suction)
- Lighting—are shadows present, is light level below 300 lux?
- Seat height (ideal: 17-19 inches, 15 inch depth for stability)
See this professional grab bar guide for installation best practices.
- Specify Materials for Non-Slip, Waterproof Safety:
- Choose flooring with a static coefficient of friction (COF) ≥ 0.6—even when wet. Look for DCOF ratings on tile packaging.
- Pick slip-resistant, textured finishes—matte porcelain or premium LVT are best.
- Use waterproof underlayment below all wet areas, especially for curbless showers, to prevent future water leaks and hidden rot.
Learn more about foundational safety upgrades for bathrooms.
- Doors and Circulation:
- Replace narrow, swinging shower or bathroom doors with a 32-36 inch clear-opening and use outward-swinging or sliding models to prevent blocking emergency response.
- Ensure threshold height is ≤1/2 inch (use rubber transition or tile ramp if needed).
- Grab Bars and Seating—Proper Install Only:
- Bars 33-36 inches from the floor; 36 inches for toilet-side, 33-34 inches for shower entries.
- Minimum 250 lb load rating, 1.5-inch diameter, slip-textured surface.
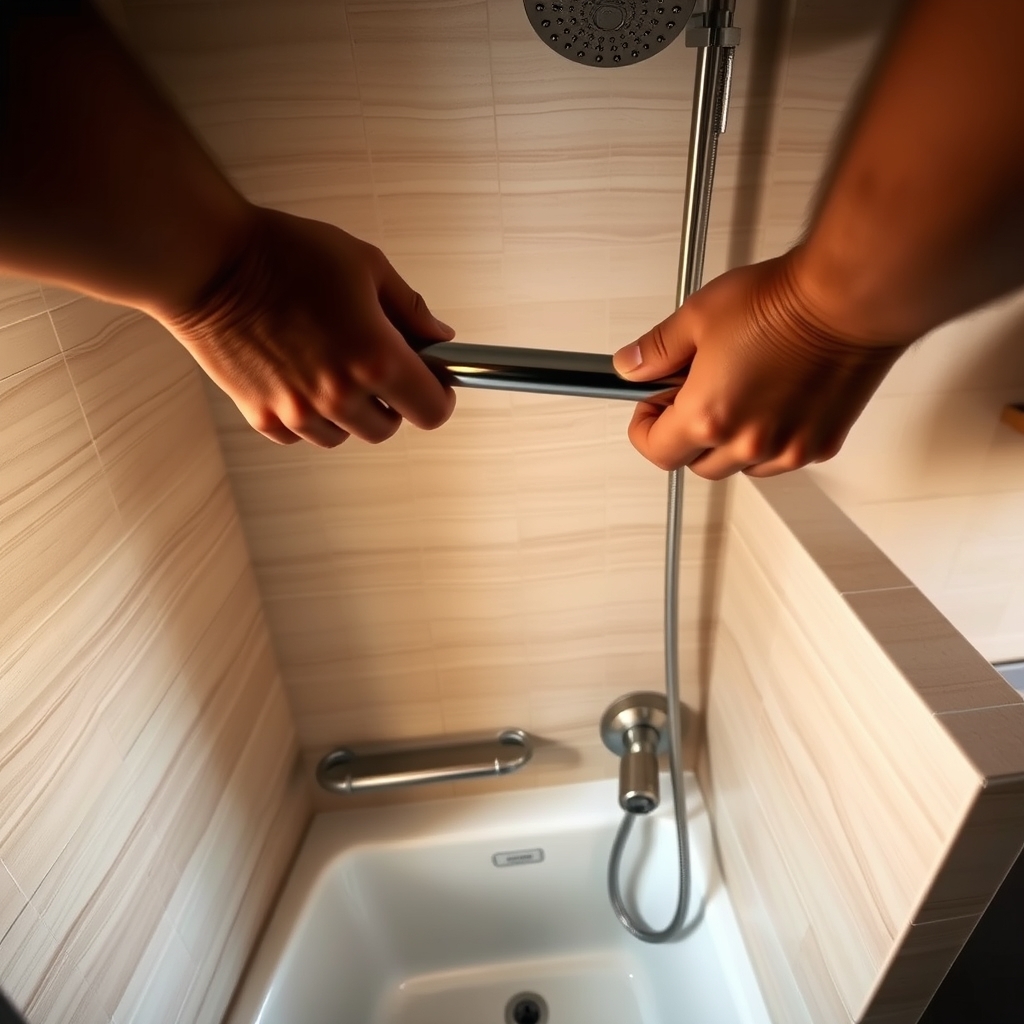
- Mount grab bars to studs or heavy-duty wall anchors, never suction or plastic-only mounts.
- Seat must be 17-19 inches high, at least 15 inches deep, and mounted securely. Flip-up seats are an option for narrow spaces.
Search for grab bar installation near me and only hire load-tested, credentialed installers.
- Lighting, Controls and Scald Protection:
- Install task lighting (≥300 lux) at shower/tub and in corners; angle to avoid shadows.
- Use lever handles, not round knobs (easier for arthritic hands).
- Install anti-scald valves; max temp 120°F.
- Controls and shelves should be 36-48 inches above the floor so seated users can reach everything from the bench.
- Choose the Right Shower / Tub System:
- Curbless showers for elderly offer the smoothest entry, but require precision drainage and waterproofing.
- Low-threshold entries may work in spaces without enough floor height for a fully curbless setup.
- Walk-in tubs allow seated bathing but often challenge transfers and have slow draining.
- Contractor Vetting:
- Ask: Are you insured? Do you guarantee ADA compliant bathroom remodels? Can you show past curbless shower for elderly installs? Which grab bar anchoring method do you use? How do you measure COF on flooring?
- Always request references and proof of load-testing for grab bar installs.
- Get a detailed estimate with material specs and dimensions listed.
Throughout the process, keep a simple measurement sheet on hand:
- Door width (inches)
- Threshold height and type
- Floor COF (check product specs)
- Lighting levels (lux meter or phone app)
- Seat height/depth
- Location and type of each grab bar
- Turning radius at main intersection points
Bring this to every consult; it shortens project start times and avoids costly redos.
Want more inspiration? See our full guide on lawn and garden design for accessibility.
Advanced analysis & common pitfalls
Many remodels fail to deliver real fall reduction because they skip the details that matter most.
- Slip-Resistance (COF): Installers may accept “shower safe” tiles with COF below 0.6—fine for younger people, hazardous for balance-impaired users.
- Grab Bar Mounting: Suction-cup “installations” are alarmingly common. Always require stud or heavy-duty anchor mounting with documented load testing and at least a 250 lb rating.
- Thresholds & Doorways: Many bathrooms, even after a remodel, retain thresholds above 1/2 inch or have doors that force awkward transfers, especially with walkers or wheelchairs.
- Lighting: General lighting is often upgraded, but shadowy corners, underlit showers, or missed accent lighting keep trip hazards hidden.
- Curbless Showers vs. Walk-in Tubs: Curbless entries work best for ongoing mobility decline, but improper waterproofing can lead to leaks. Walk-in tubs fit some users, but slow drainage and hard transfers pose new risks.
- Contractor Vetting: Some pros lack real ADA compliance experience or rely on code-minimum solutions. Ask for references who needed wheelchair or walker-ready bathrooms.
| Solution Type | Key Spec/Requirement | Common Pitfall | Safety Impact |
|---|---|---|---|
| Curbless Shower for Elderly | COF ≥ 0.6, 32–36″ door, ≤1/2″ threshold, pro waterproofing | Slippery finish, improper drainage, high curb left | Major (eliminates trip hazard, allows safe roll-in) |
| Walk-in Shower for Seniors | Anti-slip seat, 250 lb grab bars, ≥300 lux lighting | Undersized bench, suction bars, dim corners | Medium–major (immediate and long-term fall risk) |
| ADA Compliant Bathroom Remodel | 32–36″ doors, 48–60″ turning, controls within reach | Doors too narrow, controls >48″ high, poor anchor | Major (enables true assistance/caregiver access) |
| Non-slip Flooring Bathroom | Verified wet COF ≥ 0.6, textured finish | Glossy tile, rug slides, ignored COF ratings | Major (slip-resistance alone can halve fall rate) |
Don’t let value engineering or lack of local expertise make choices that undermine long-term safety. You can also read about choosing the best home safety products for pets, whose needs can overlap with elderly safety in the home.
Conclusion: making your remodel count
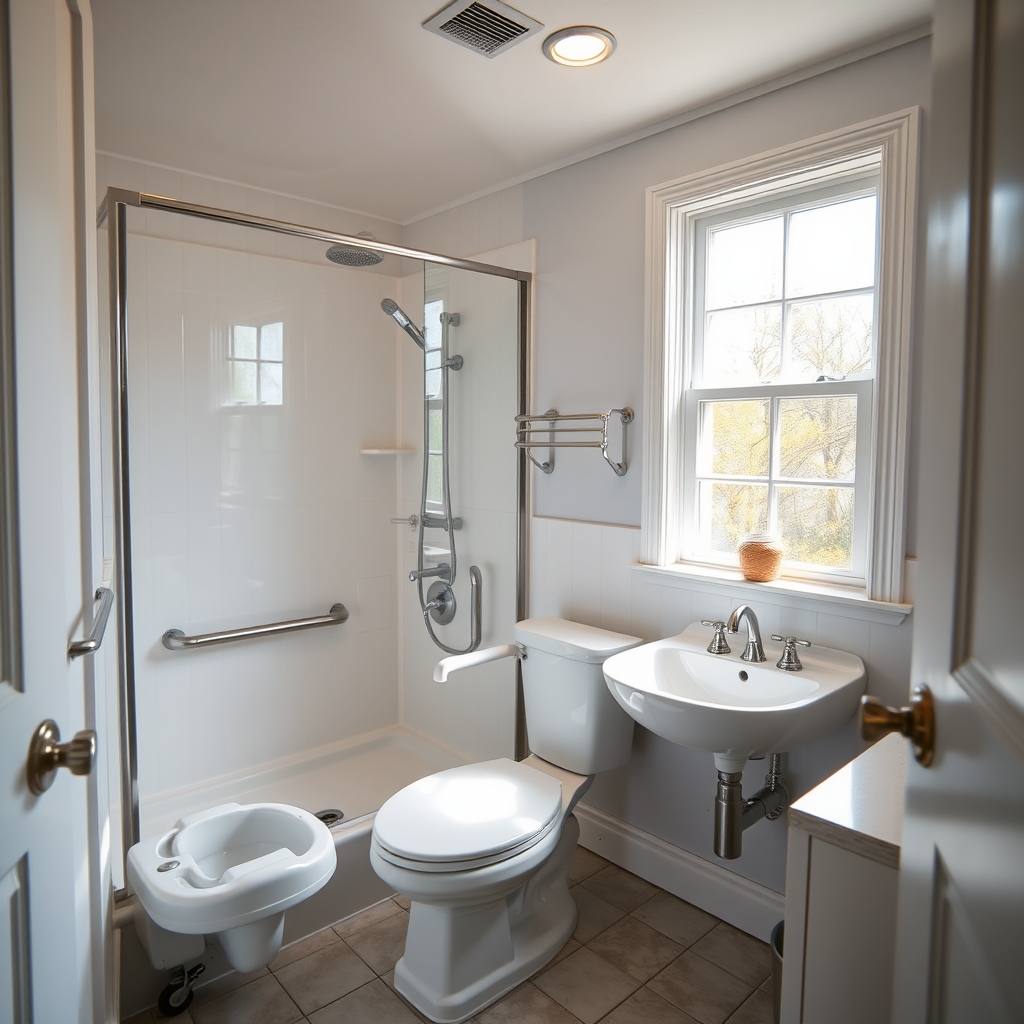
When it comes to an aging in place bathroom remodel, details are non-negotiable. High-impact upgrades like ADA compliant door widening, slip-resistant flooring, architecturally-backed grab bars, and strategic lighting combine to dramatically lower fall risk and increase independence. Remember: Half of those who fall, fall again. Use the checklists above, ask every contractor the right questions, and insist on specs—not just intentions. Your family’s safety and dignity are worth the extra detail.
Ready to act? Book your consult with a certified ADA remodel specialist today—bring your measurement checklist and photos for the fastest, safest path to a truly accessible home. For more ideas on functional upgrades, explore our lawn and garden accessibility guide and modern home living setup.
FAQ
What is the most important spec in an aging in place bathroom remodel?
Slip-resistance (COF ≥ 0.6) on all wet floors is the foundational element. If you only change one thing, prioritize non-slip flooring verified for wet areas.
How do I find the best “grab bar installation near me” contractor?
Search for local companies with proof of insurance, ADA experience, references for grab bar installs, and documentation of at least 250 lb load-tested installations. Never accept suction or plastic anchor-only jobs.
Should I choose a curbless shower for elderly family members, or a walk-in tub?
Curbless showers minimize trip hazards and allow wheelchair access but require pro waterproofing. Walk-in tubs may be better for those who prefer seated bathing, but can be tricky to enter and drain slowly. Discuss your needs and physical abilities in detail with a contractor.
How much budget should I plan for an ADA compliant bathroom remodel?
Basic slip/floor/lighting/grab bar upgrades start at $2,000–5,000. Full curbless, widened door, and all-ADA details typically range from $11,000–20,000+ depending on plumbing/electrical complexity and local labor rates.
What quick wins can I implement before a full remodel?
Add anti-slip mats (temporary), apply anti-slip tile treatment, install pro-anchored grab bars, and increase lighting—all for a modest upfront cost. Use these while planning the full aging in place remodel for added safety.